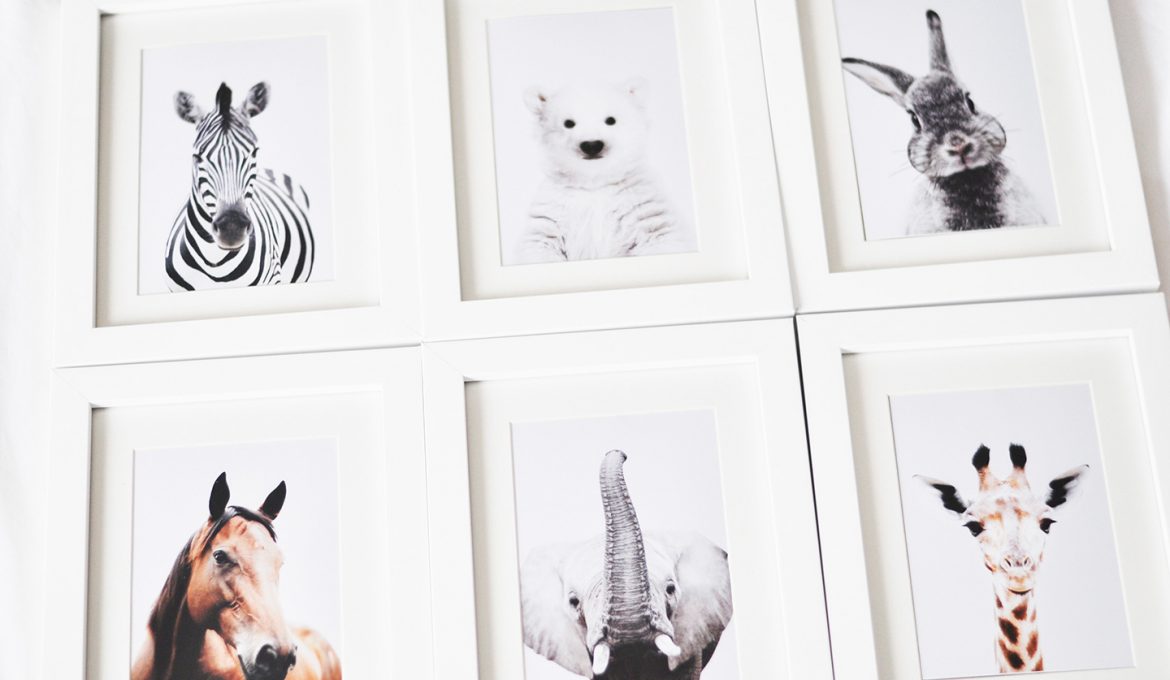
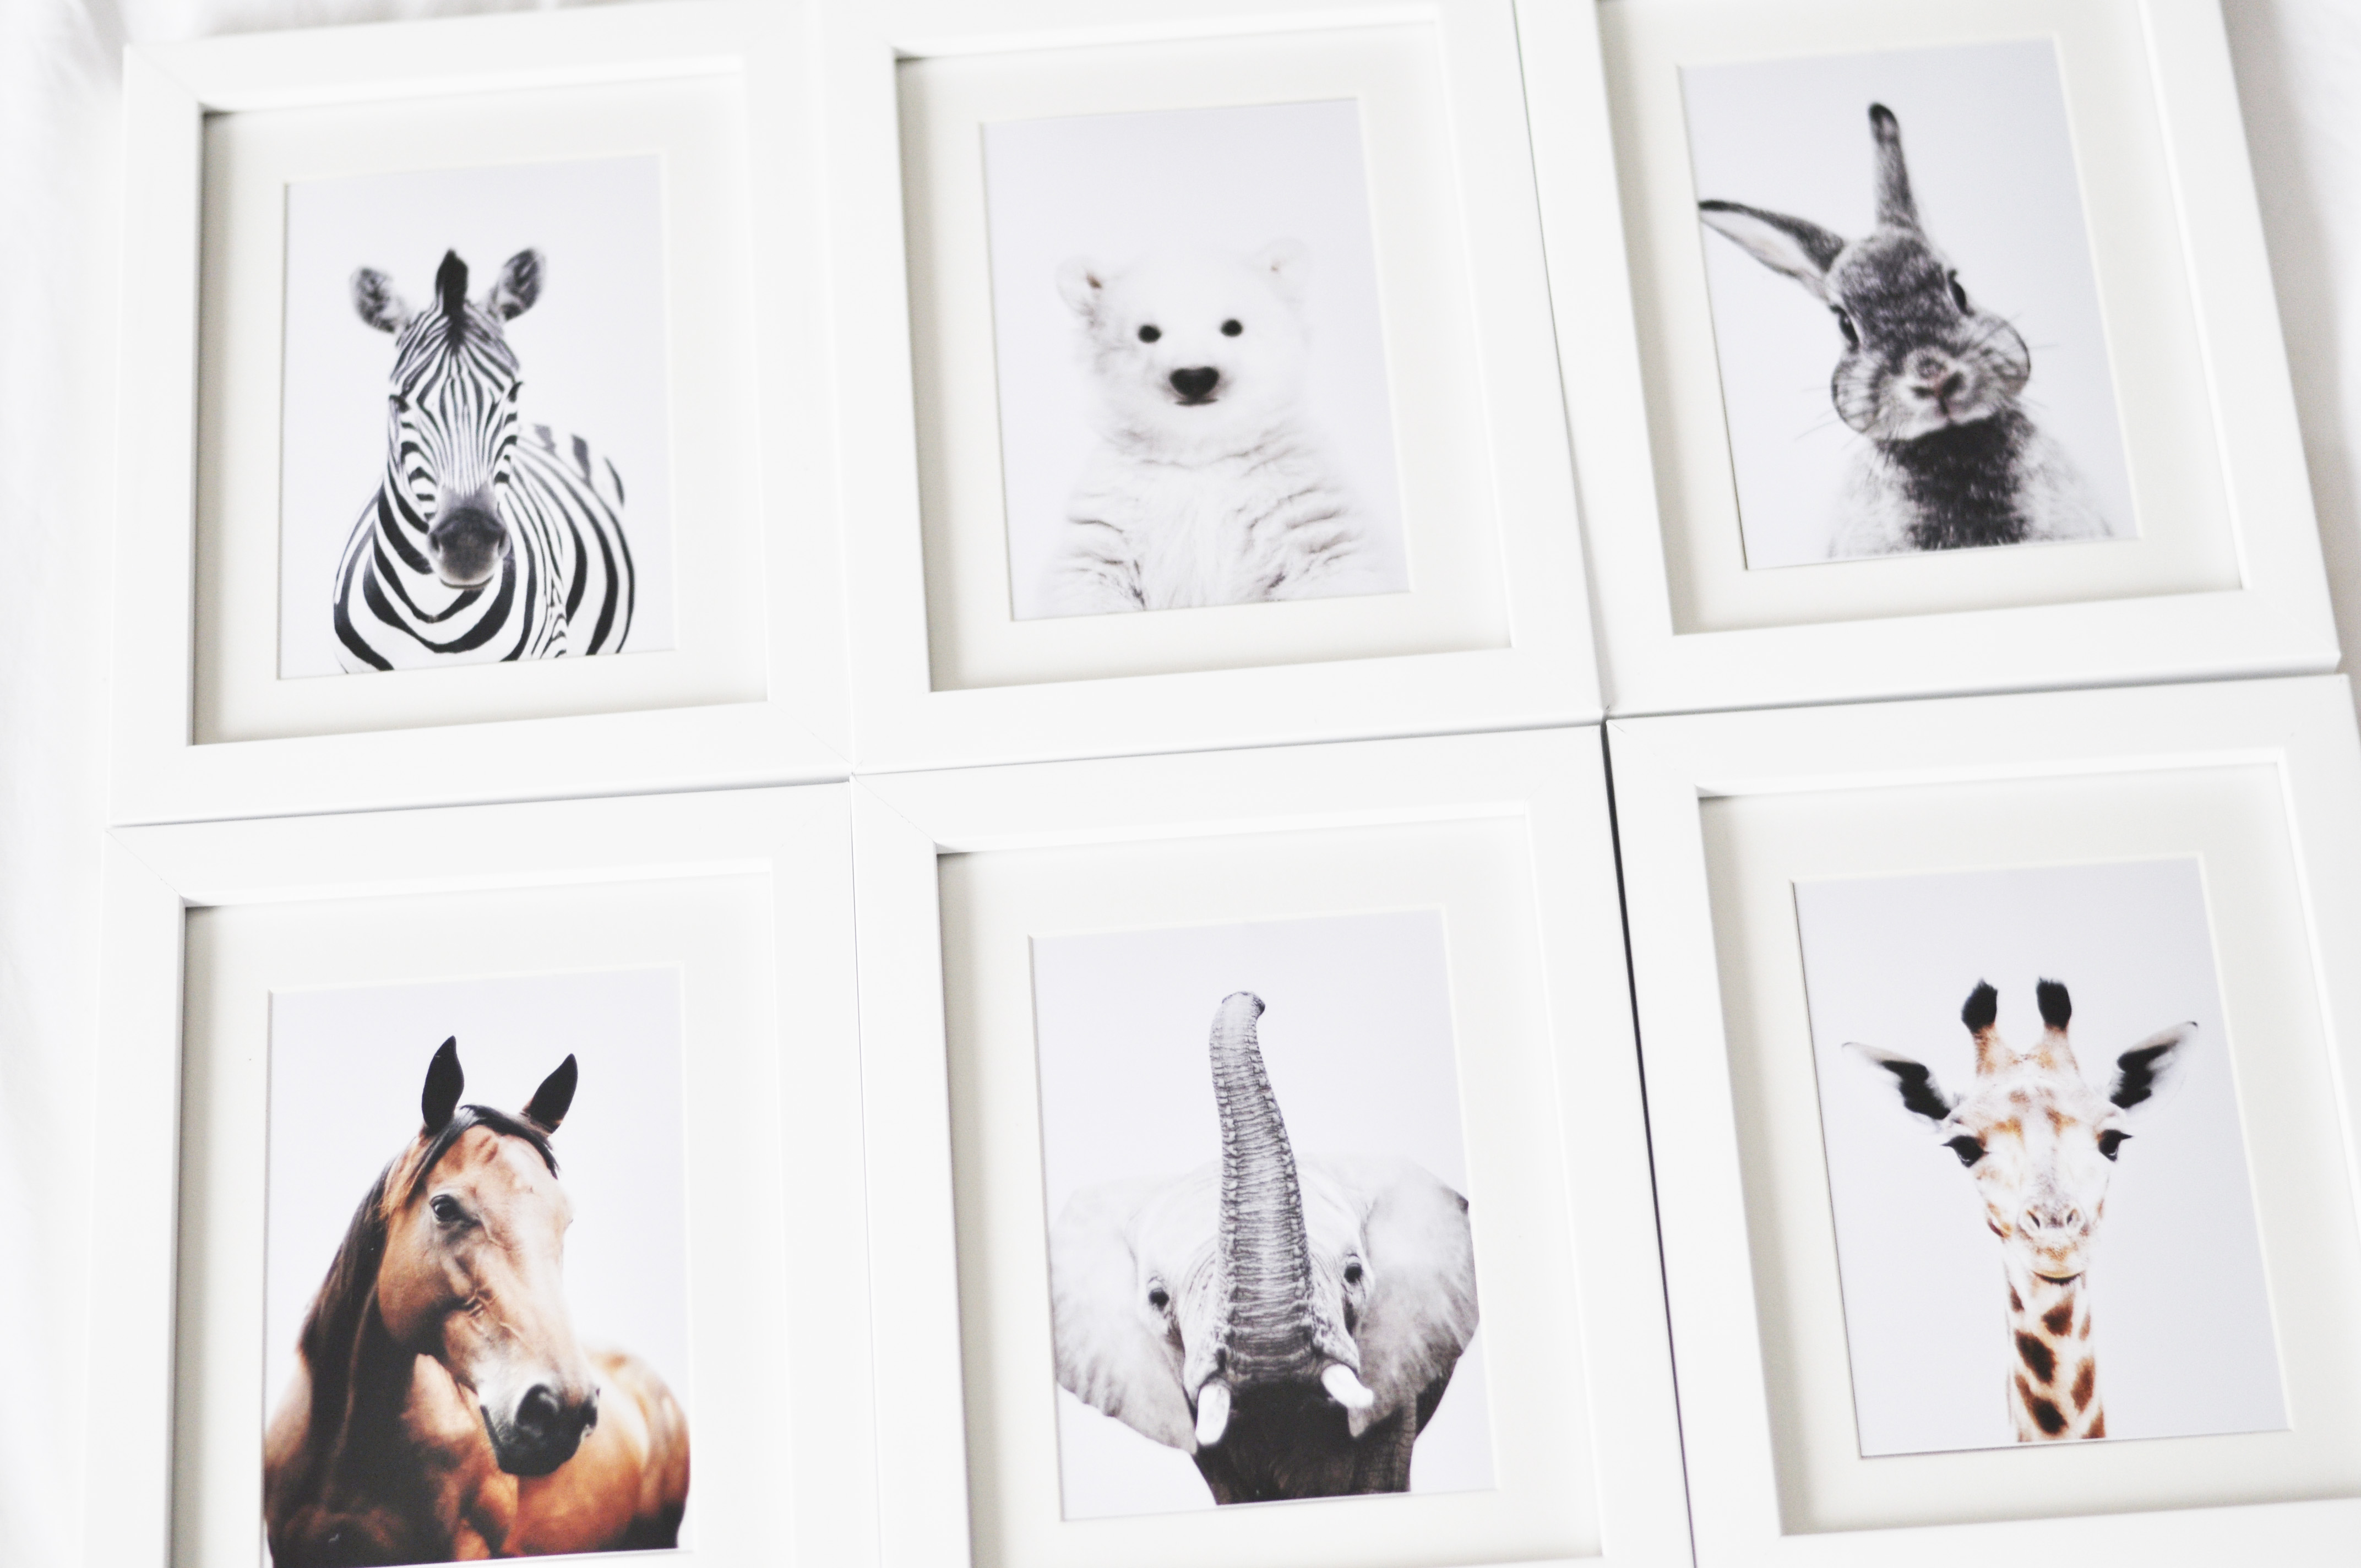
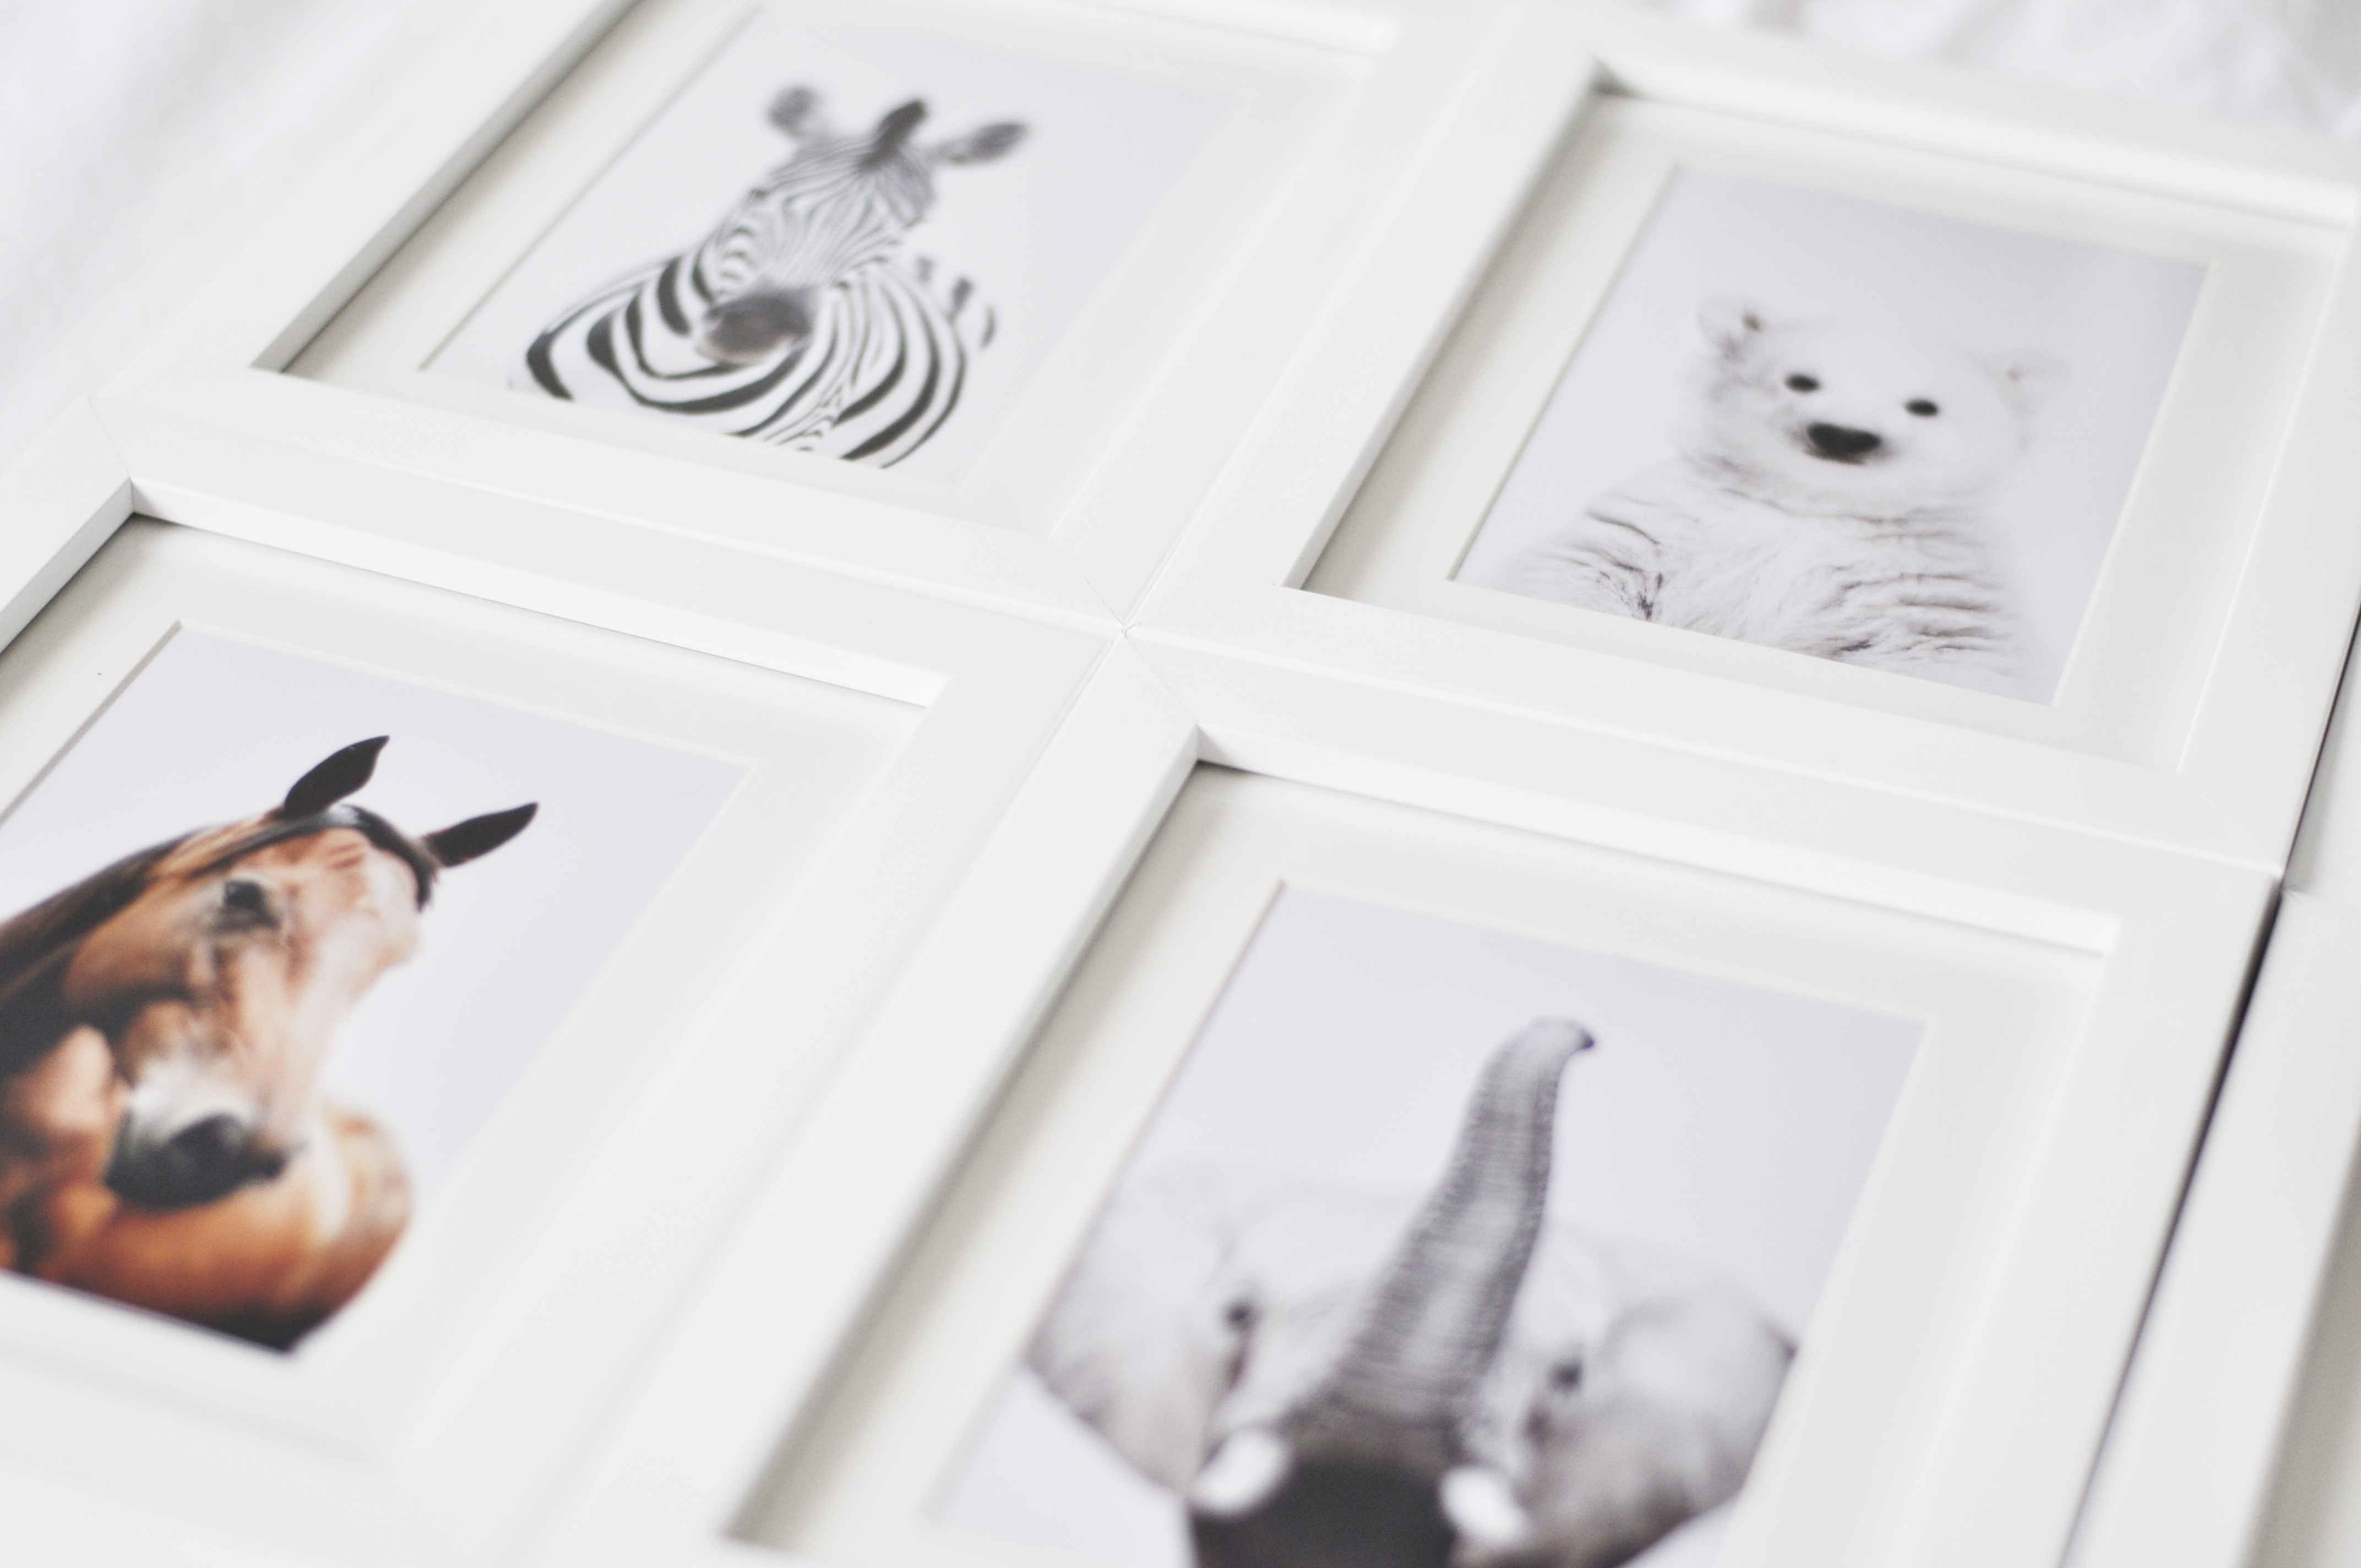
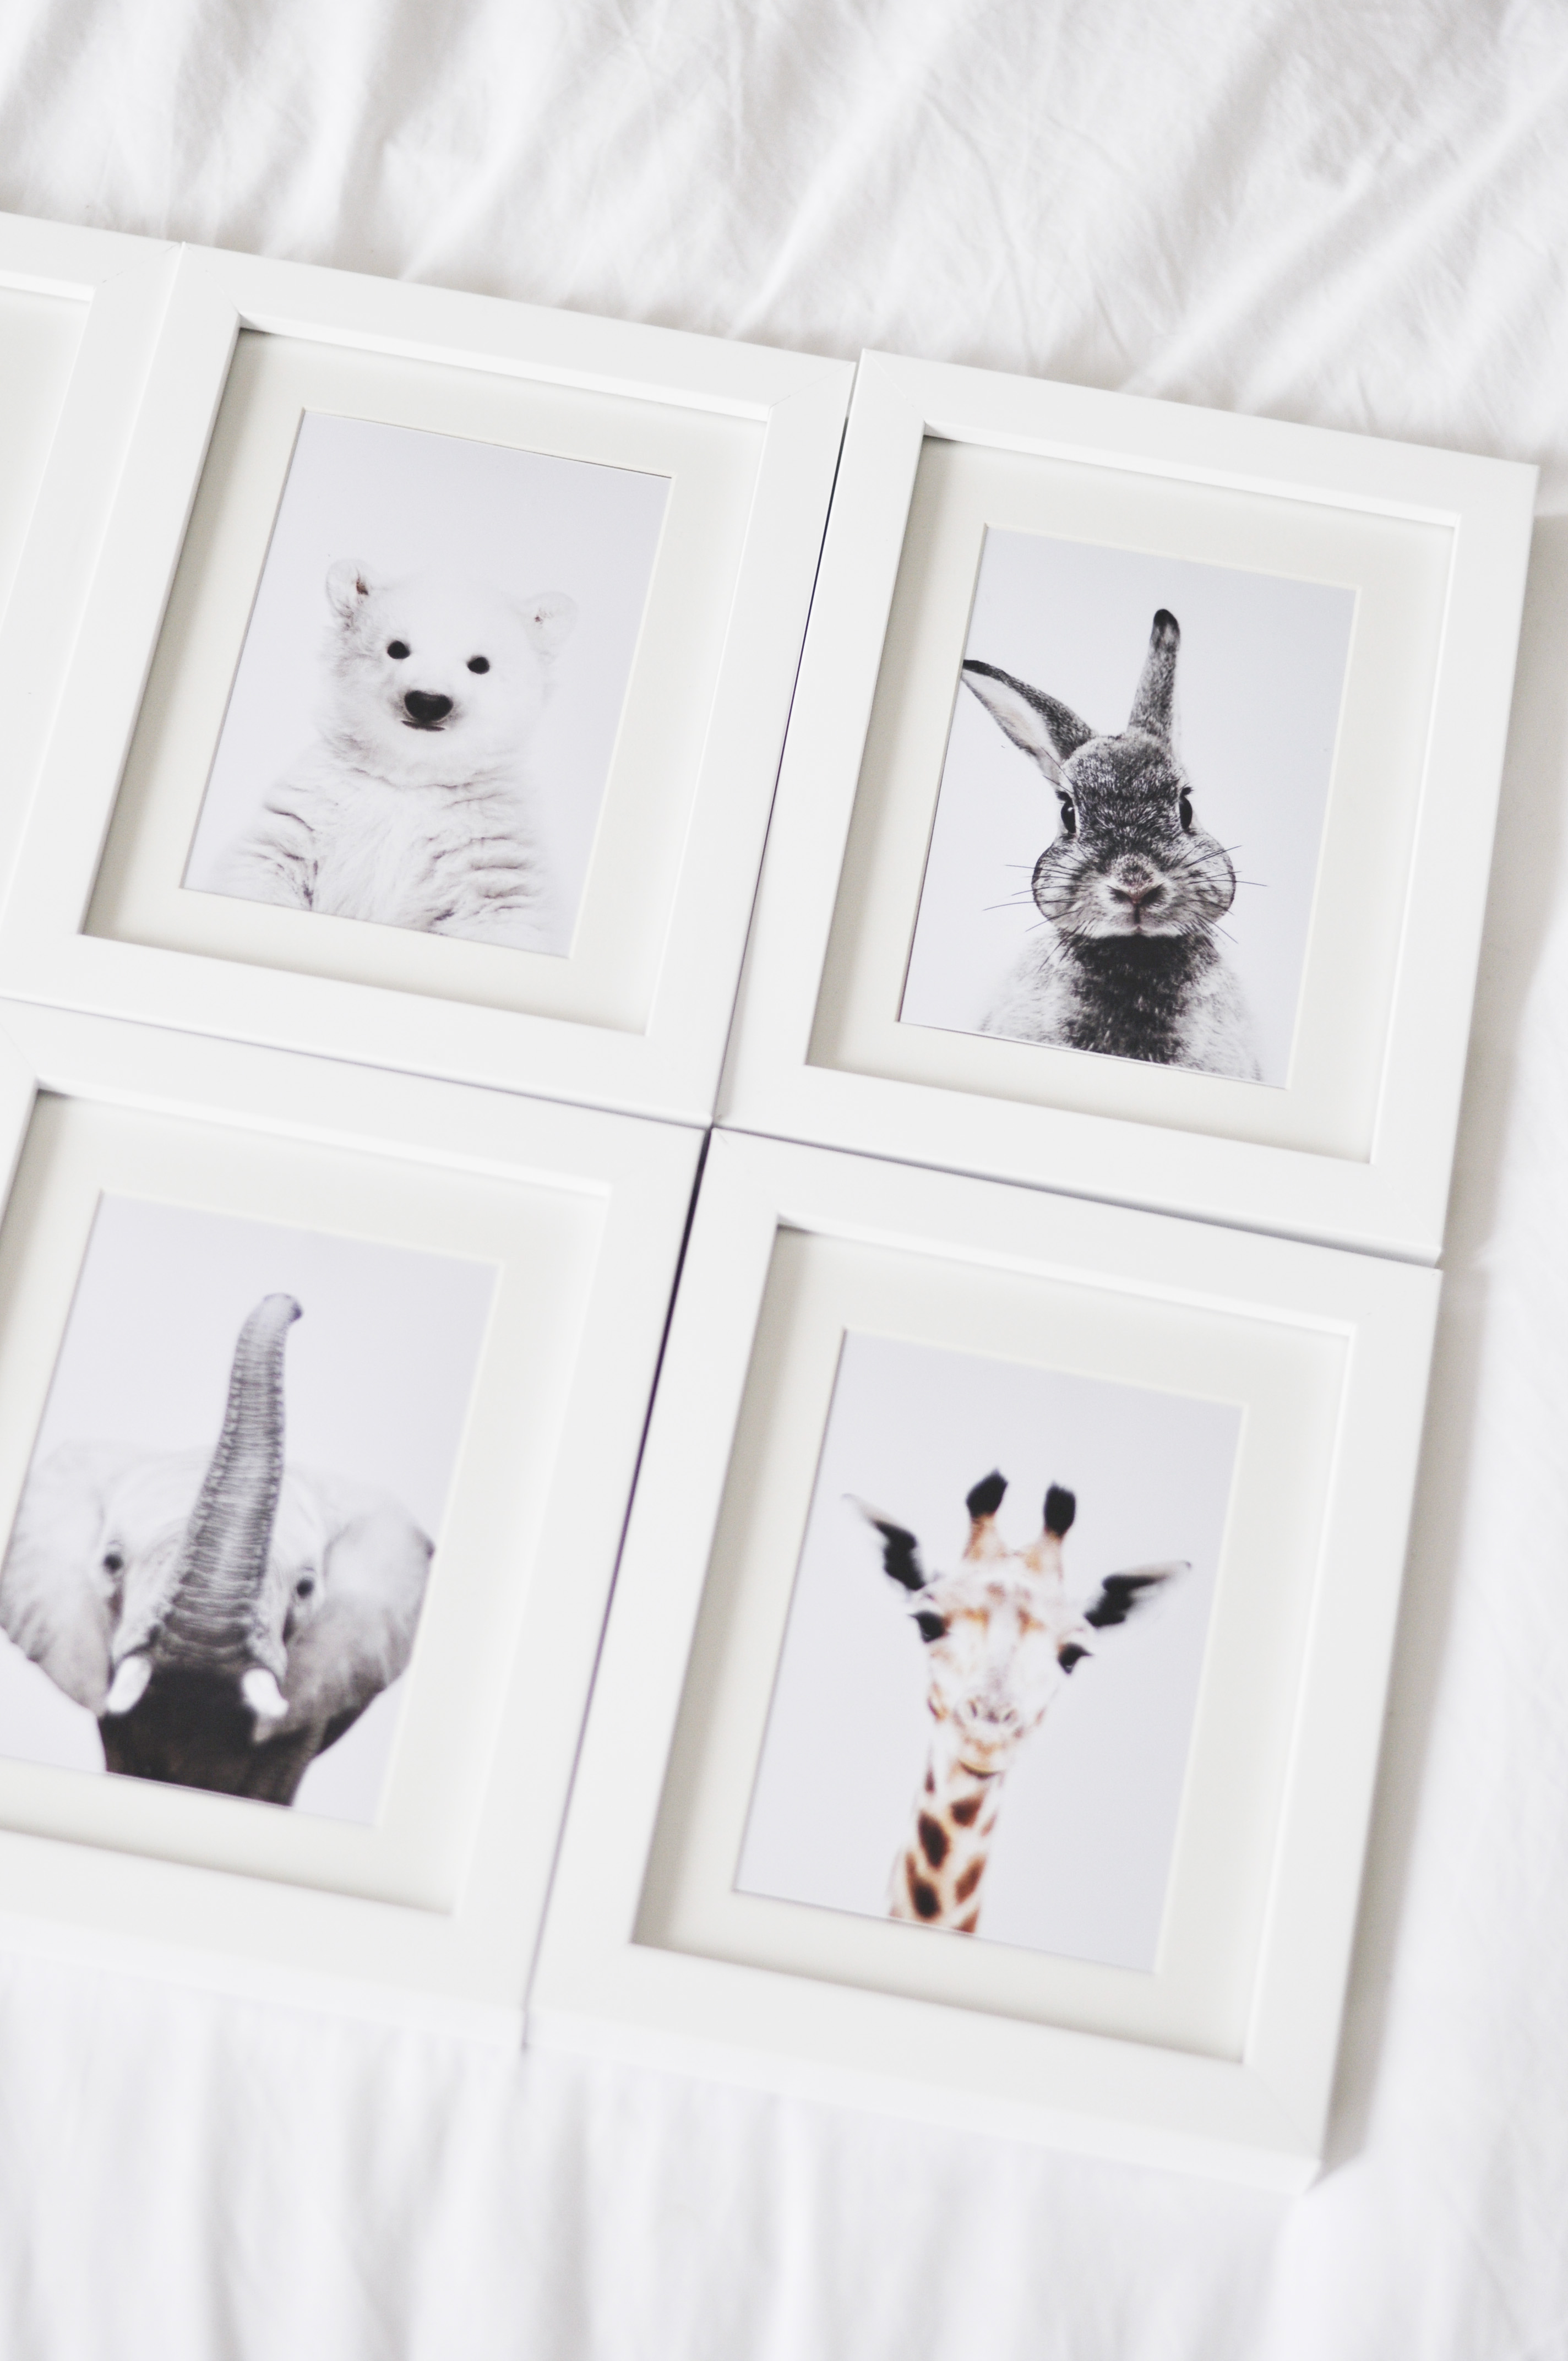
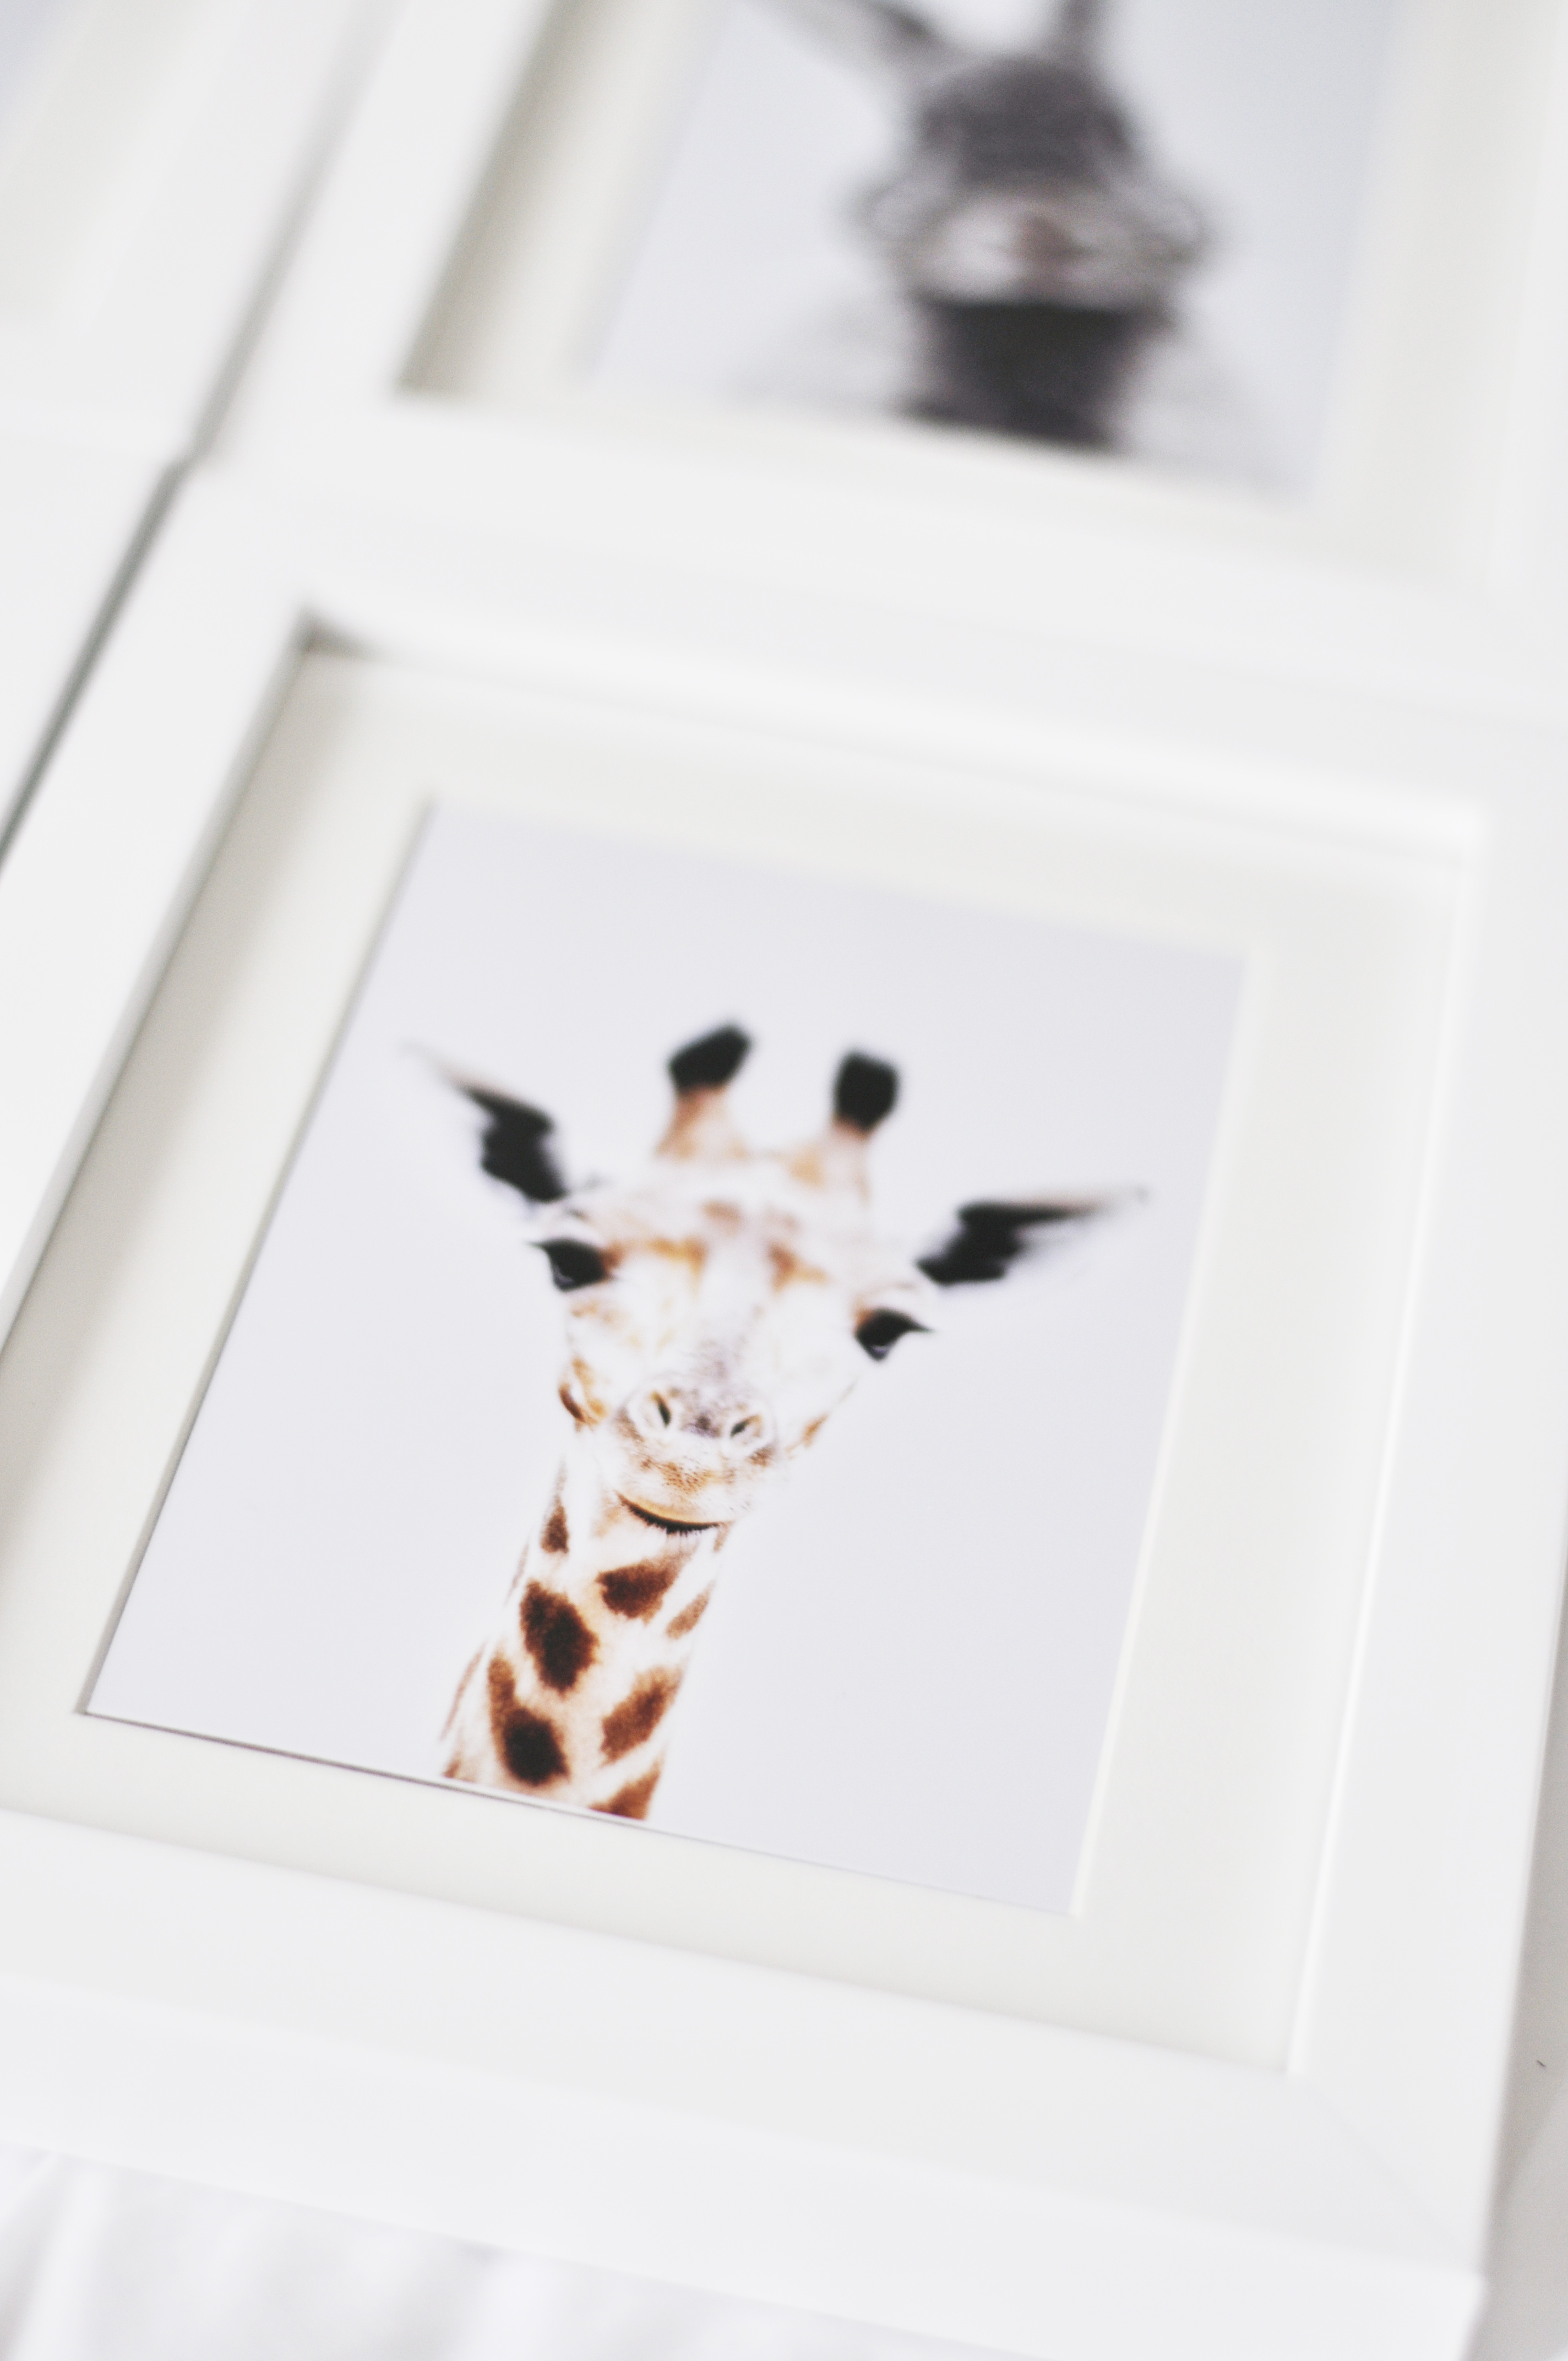
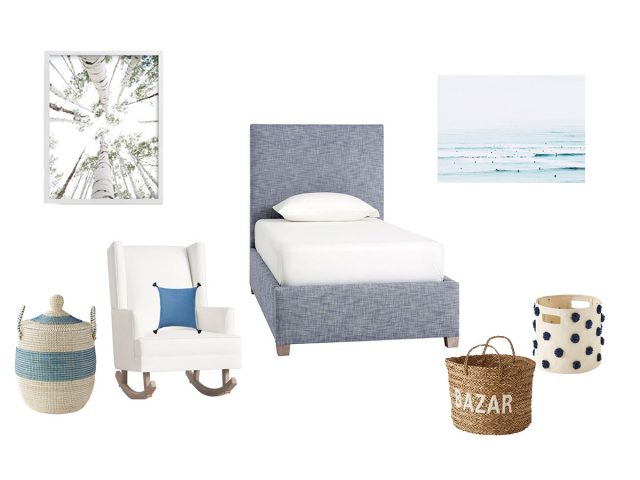
I love a good gallery wall and baby’s room was the perfect room to style with these photos.
I was so lucky to get those beautiful animal prints from this ETSY shop …. and I am 100% sure I will get back on her shop for more styles for the rest of the house… so in love with her pictures and the price is super if you want to style your house on a budget (remember that’s our no1 priority for this house renovation)
First of all when you want to do a gallery wall you should always picture it before hand, I knew I wanted 6 photos as it’s going to be hanged right above his bed and it’s quite a big bed so I wanted the photos to be quite the focus of the wall there.
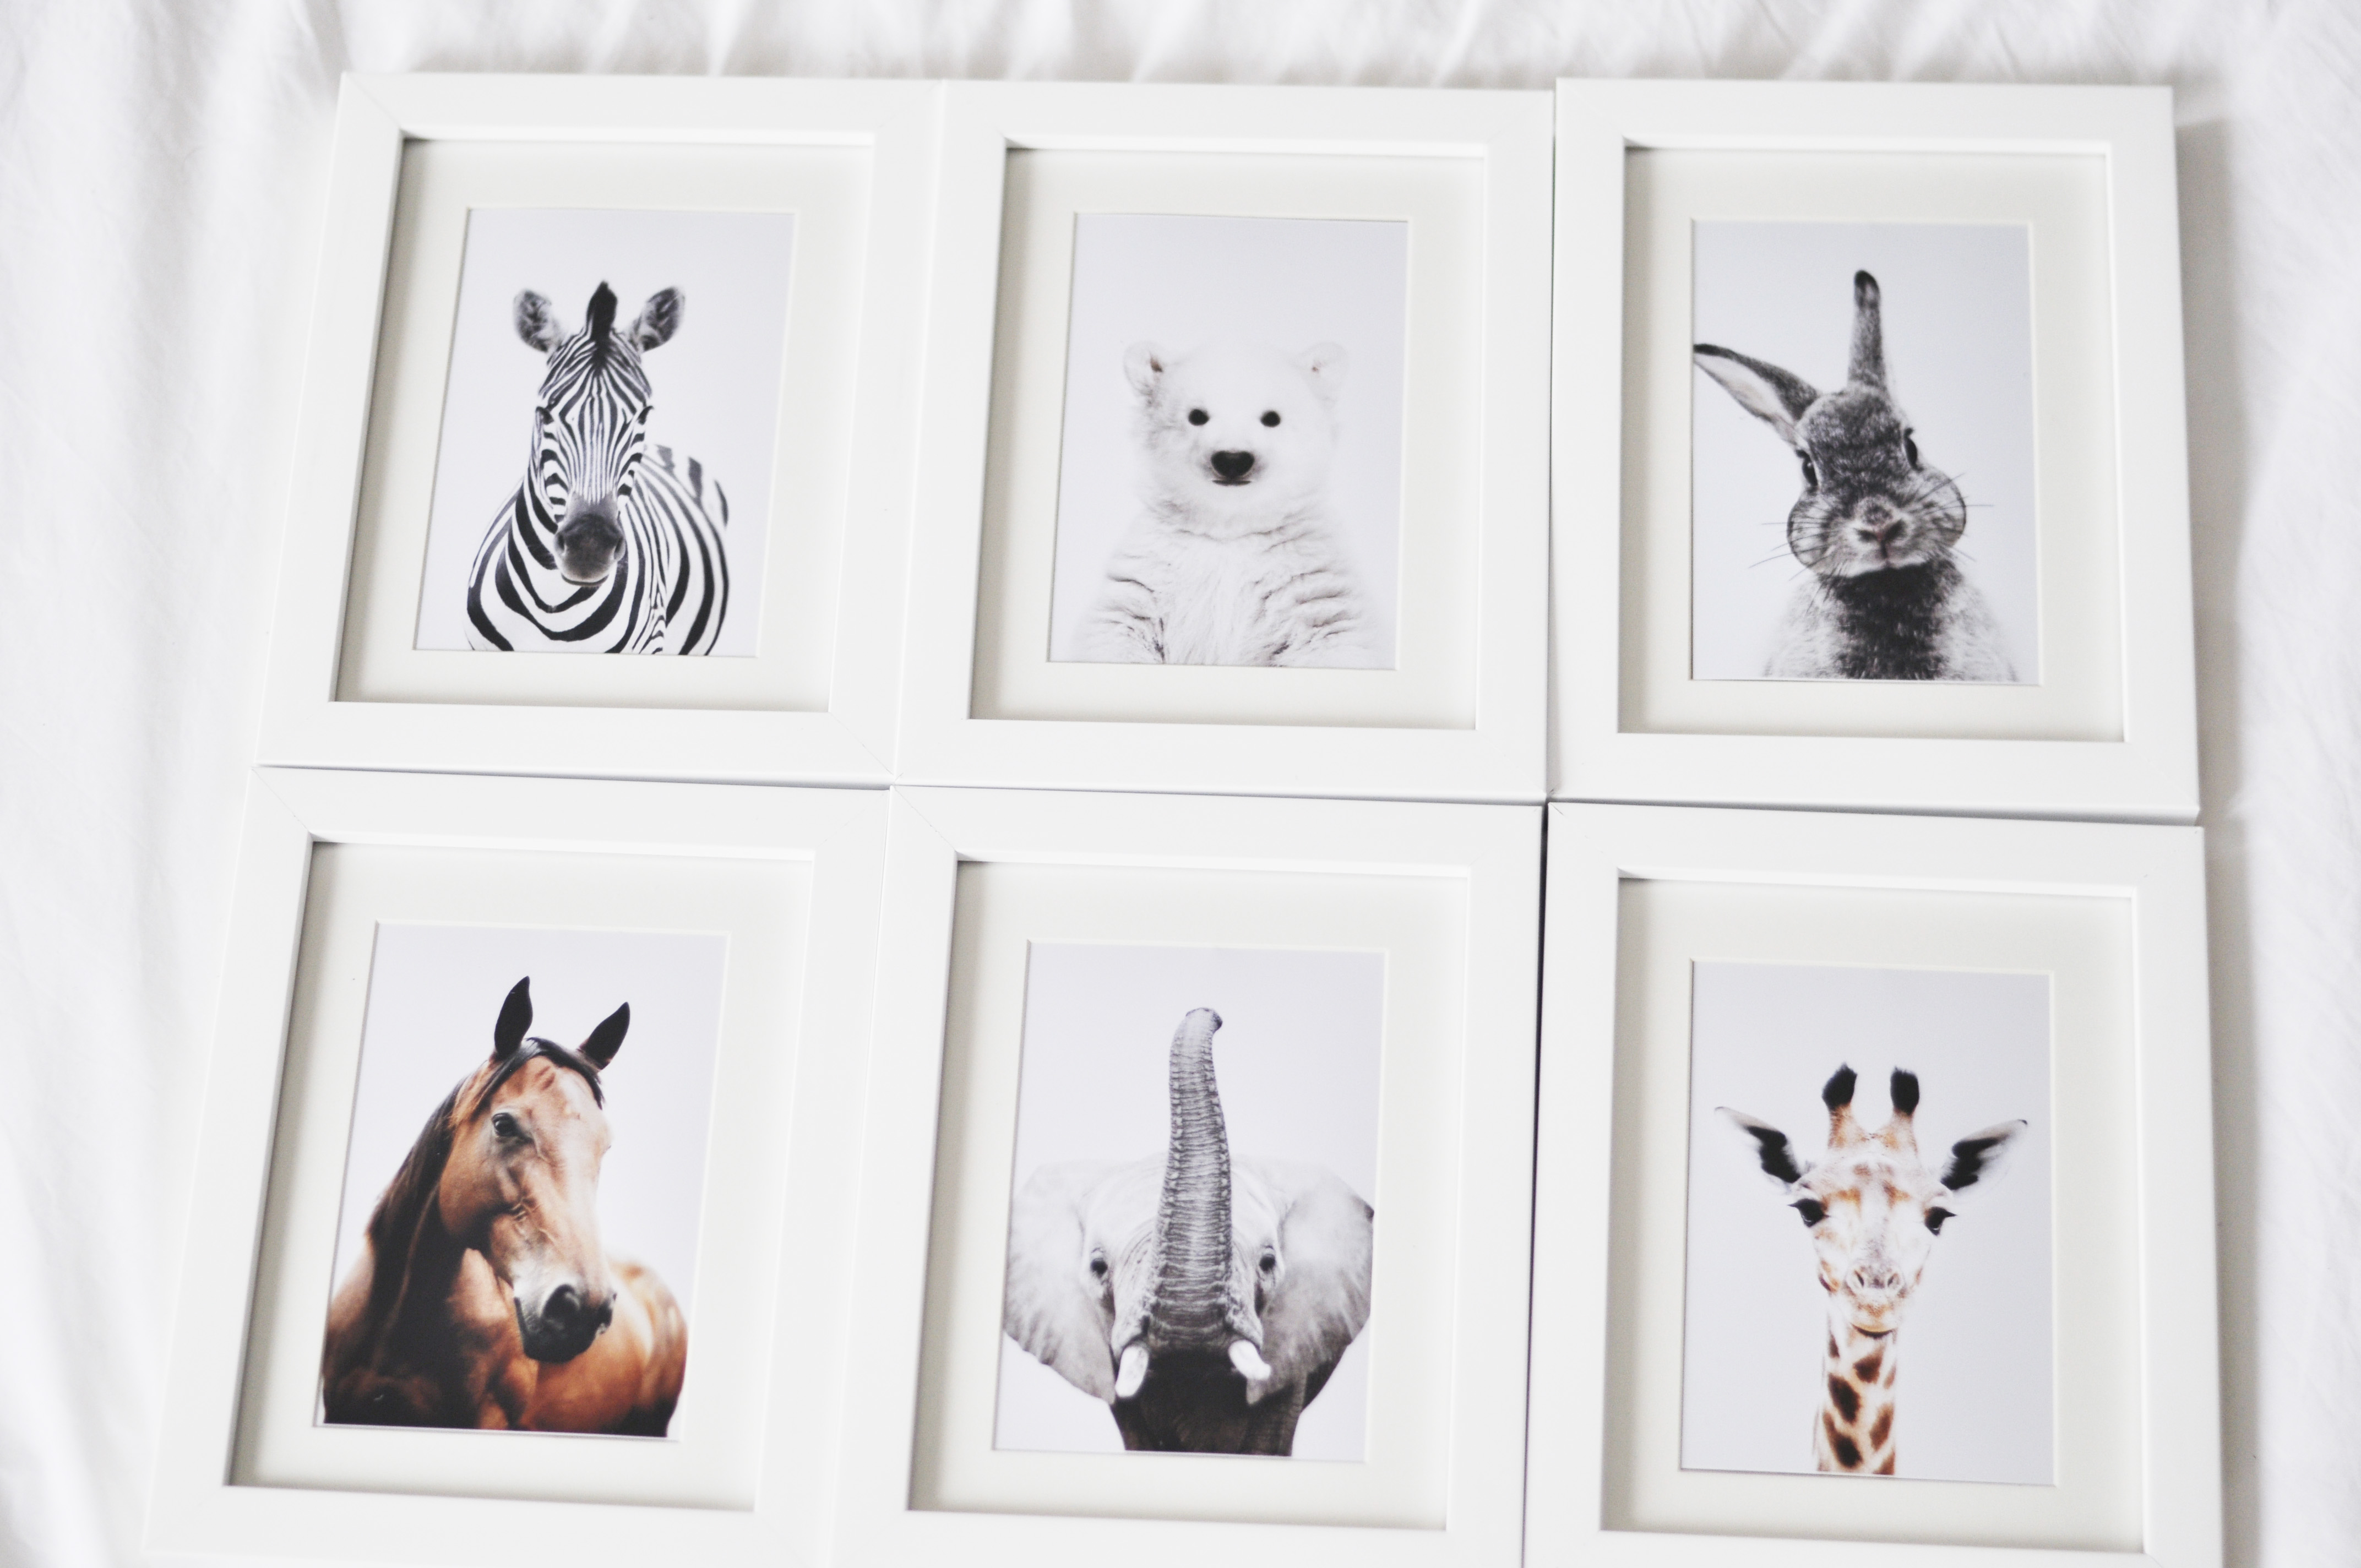
I then had to decide on which 6 animals I would go for (careful you don’t want to upset the jungle here) so I went fo my 6 favourites and the ones I thought represented well our family haha!
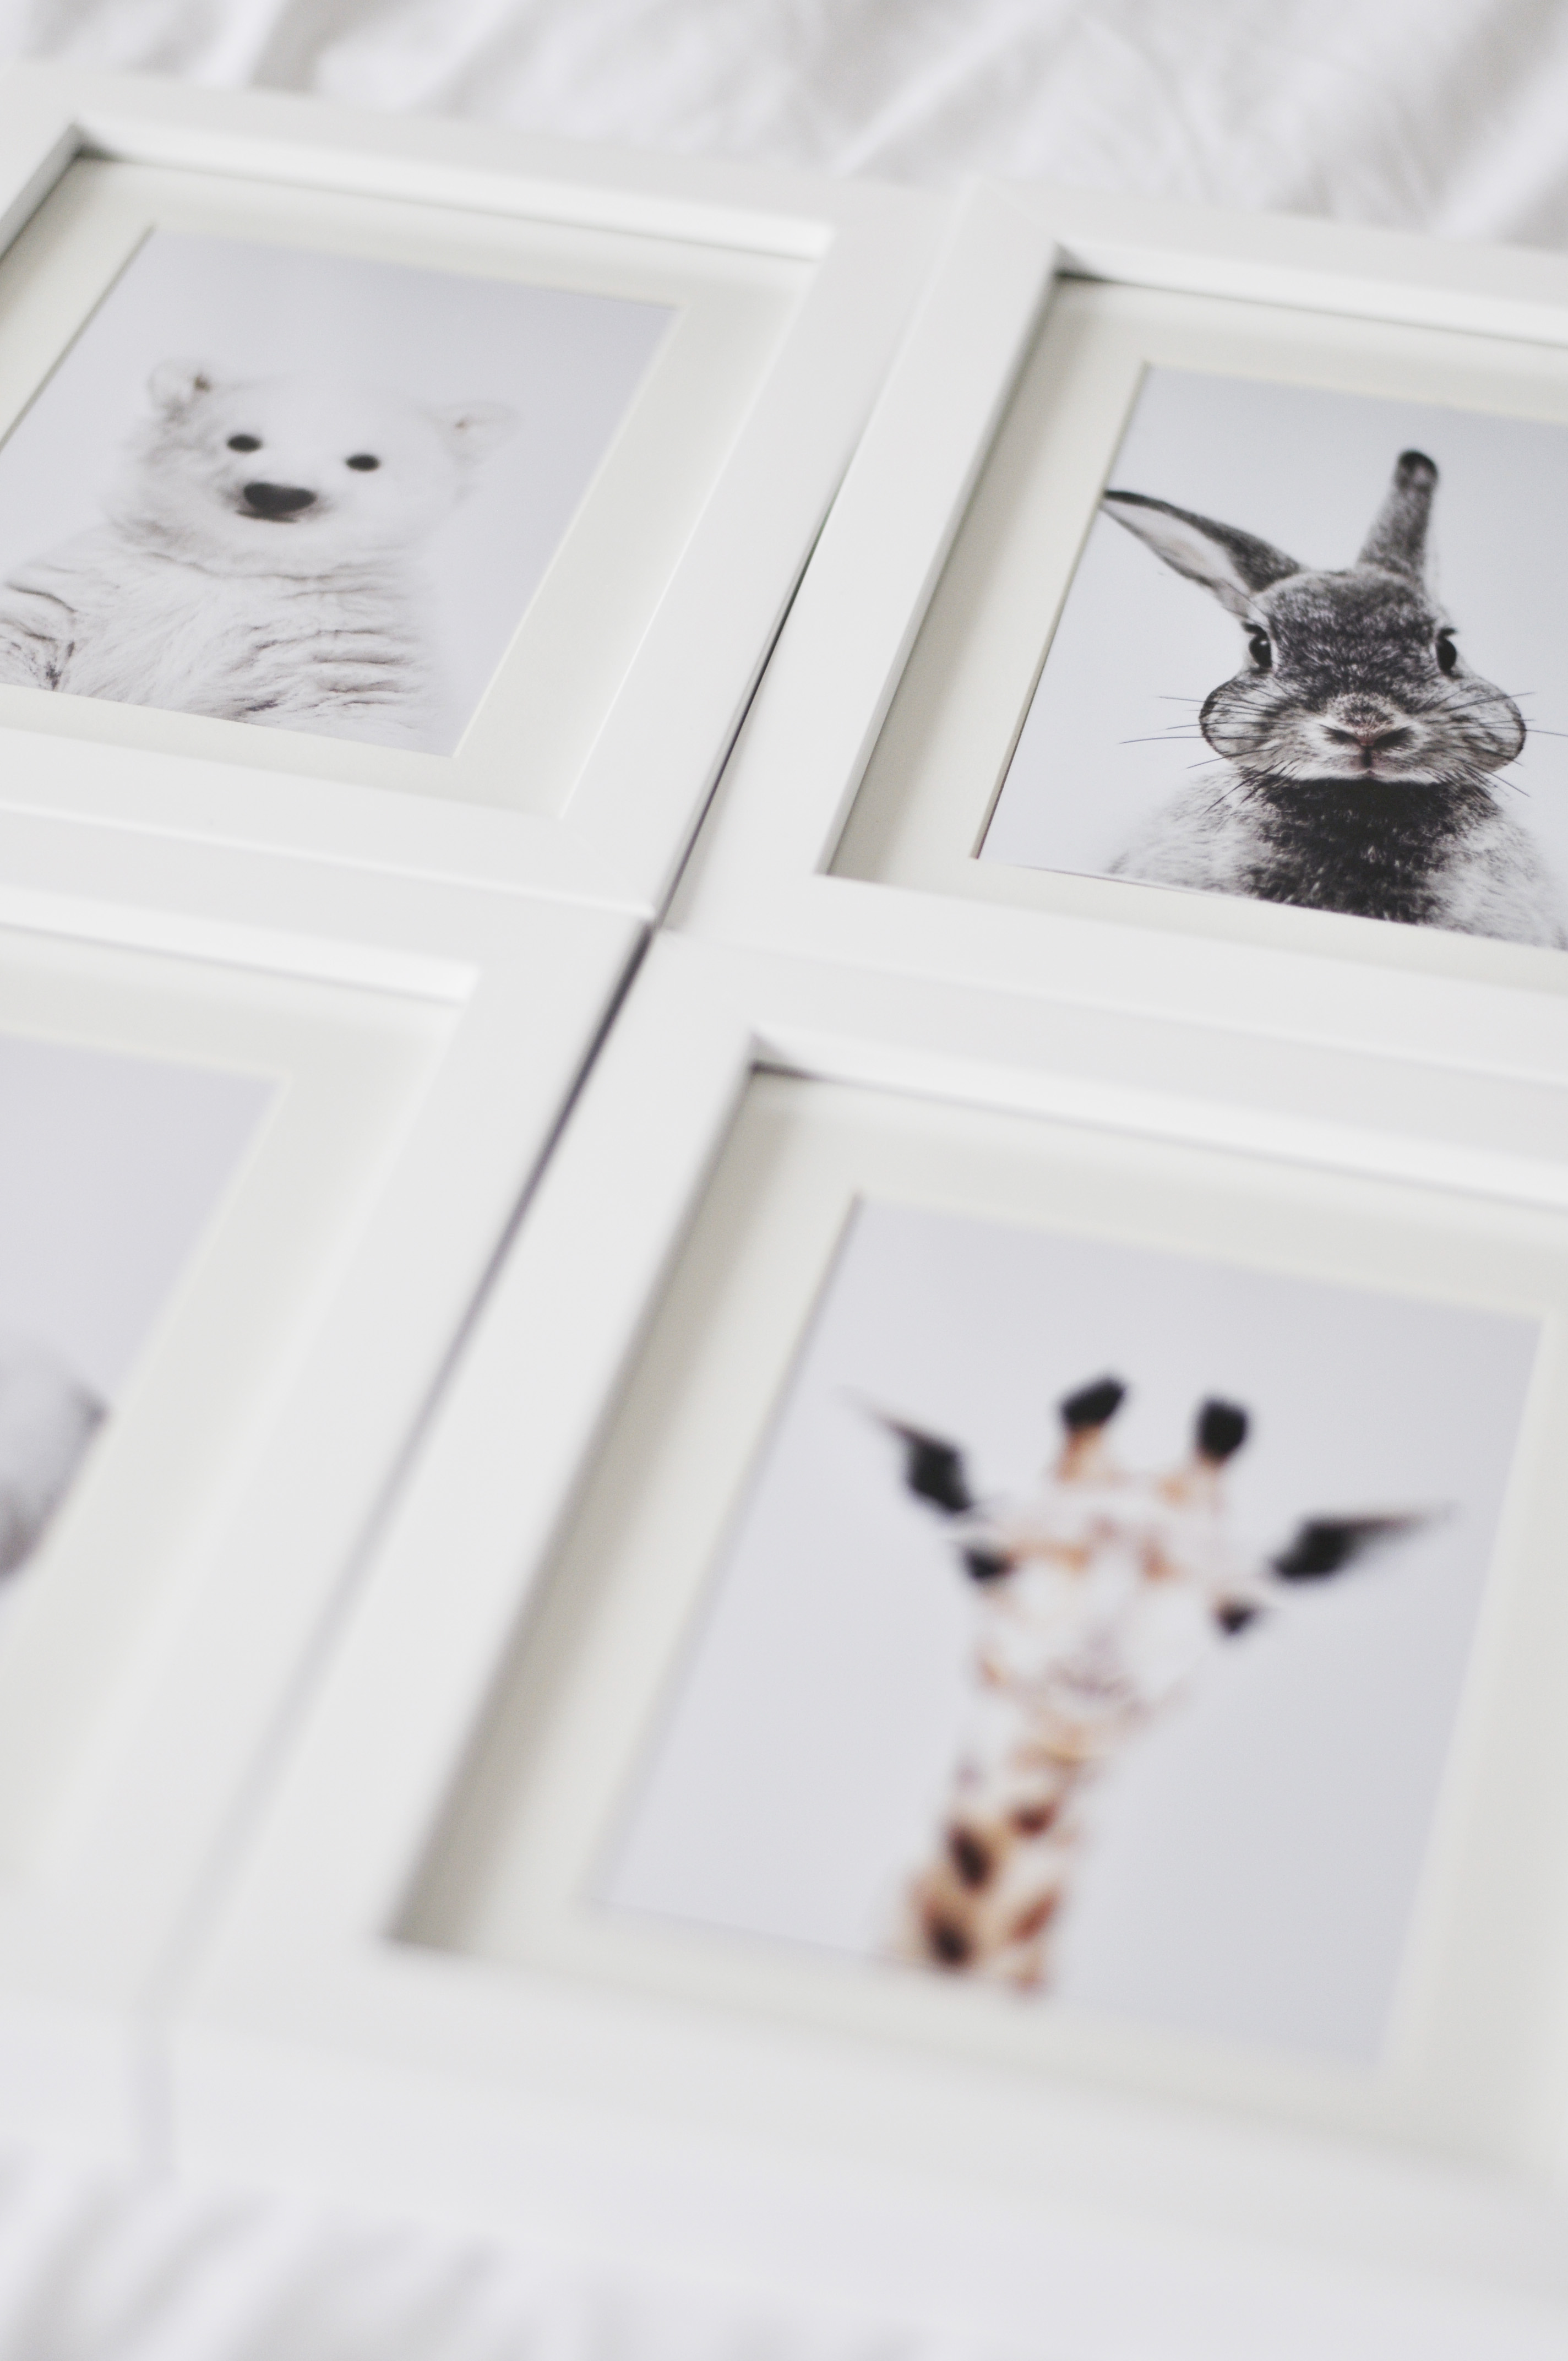
Then it’s about the size of the photo itself, don’t go too big but if you do then choose only 2 that will be the focus and won’t overcharge the wall. I then printed the photos into the size I wanted and bought the frames to go with them. I went for frames with inner borders as I find them a little more chic (you can find any frames you want at either one of those big names: IKEA or Ebay.)
PS: I printed my photos on Foto.com my go to for photos it’s quick and easy and it’s also super cheap I paid £1.50 for my six photos. (They also do poster size now for something like £10 which is super handy if I order more photos from this ETSY shop as they are downloaded only).
Secondly, jump on your bed (if you have white sheets like us it’s even nicer to visualise your gallery wall). I put all the pictures on the bed and started playing around with them to see which one was going where and how they fitted next to each other. I then decided on an order for them and then off to the wall …
It’s never easy to hang a frame or mirror you never know if it’s straight or in the right place. What I do is that I take white papers and a tape, I then put them on the wall make sure they are straight (with this little yellow tool you know the one with the green liquid that tells you if it’s straight ? lol … well a bubble level ) I also measure each gap between the images etc.
I then put a nail at the right place and hang my frames 🙂
Here you go, an easy and simple gallery wall without making one too many holes on the wall …
Hope it was helpful!
Thank you to Chic Scandinavian on ETSY for these wonderful animal prints, baby boy will be so pleased! ℅
xo S.
Comment créer une expo-murale
J’aime beaucoup l’idée de créer une expo-murale et la chambre de bébé se prêtait parfaitement à mon désir de la styliser avec les photos ci-jointes.
J’ai eu beaucoup de chance en trouvant ces belles images d’animaux sur la « boutique Etsy » …et je suis sure et certaine que j’y “retournerai” pour décorer le reste de la maison….car j’aime vraiment les produits proposés et les prix sont très raisonnables si vous souhaitez donner un style à votre maison sans dépasser votre budget (n’oubliez pas que c’est notre objectif numéro 1 pour la rénovation de la maison!)
Tout d’abord quand vous voulez mettre en place une expo-murale, vous devez toujours l’anticiper visuellement, Je savais que je voulais 6 photos à accrocher juste au dessus du lit de bébé et comme son lit est assez grand, je voulais que les photos soient ce qui ressorte tout de suite sur le mur.
Ensuite je devais faire un choix de 6 animaux (attention! pas question de troubler l’équilibre de la jungle!) aussi j’ai retenu les six que je préférais et qui à mon avis correspondaient mieux à notre famille hahah!
Maintenant, la taille de la photo! ne la choisissez pas trop grande mais si c’est le cas, prenez en 2 qui seront les points d’attraction et ne surchargez pas le mur surtout. J’ai donc fait imprimer les photos à la taille de mon choix et j’ai acheté des cadres et posé une marquise dans chaque encadrement ce qui donne un coté plus stylé à l’ensemble. Vous aurez un grand choix de cadres auprès des grandes enseignes telles que IKEA ou Ebay.
P.S. j’ai donc réalisé l’impression avec foto.com, mon site préféré, rapide, facile, bon marché. J’ai payé £1.50 pour mes six photos. (Ils proposent la taille poster pour £10) ce qui va s’avérer super pratique si je commande encore auprès de la boutique Chic Scandinavian sur ETSY qui elle, ne réalise que le téléchargement des images.
Etape suivante…installez-vous sur votre lit (et si vous avez des draps blancs comme nous, ce sera plus facile pour visualiser votre expo-murale) En ce qui me concerne j’ai disposé toutes les photos sur le lit et je les ai positionné et repositionné jusqu’à obtenir le meilleur agencement à mon goût. Et hop c’est parti pour le mur…
Cela n’est jamais vraiment facile d’accrocher un cadre ou un miroir, on ne sait jamais s’il est bien droit. Donc je prend des feuilles blanches et un mètre je les positionne sur le mur et m’assure qu’elles sont bien droites ( avec vous savez ce petit outil que l’on appelle un « niveau à bulle ») et enfin je vérifie l’espace entre chaque image.
Une pointe au bon endroit et mes cadres sont accrochés!
Et voilà une expo-murale sobre et facile à réaliser sans faire trop de trous dans le mur…
J’espère avoir pu vous aider!
Merci à Chic Scandinavian sur ETSY pour ces très jolies impressions d’animaux qui feront le bonheur de notre petit homme!
Bisous S.


